
Since the earliest manned missions, space travelers have relied upon freeze-dried foods for their meals. Today, you can enjoy the same variety of delicious dehydrated ice cream treats that have accompanied many a space mission.
Of all the technology created to support space flight, our favorite has to be Astronaut Ice Cream. The idea of ultra-lightweight, freeze-dried, good-at-any-temperature ice cream is pure awesome.
Plus, knowing that you’re eating the same treats that astronauts feast upon is pretty darned sweet.
freeze-drying-ice-creamfreeze-drying-ice-cream
What is freeze dried ice cream?
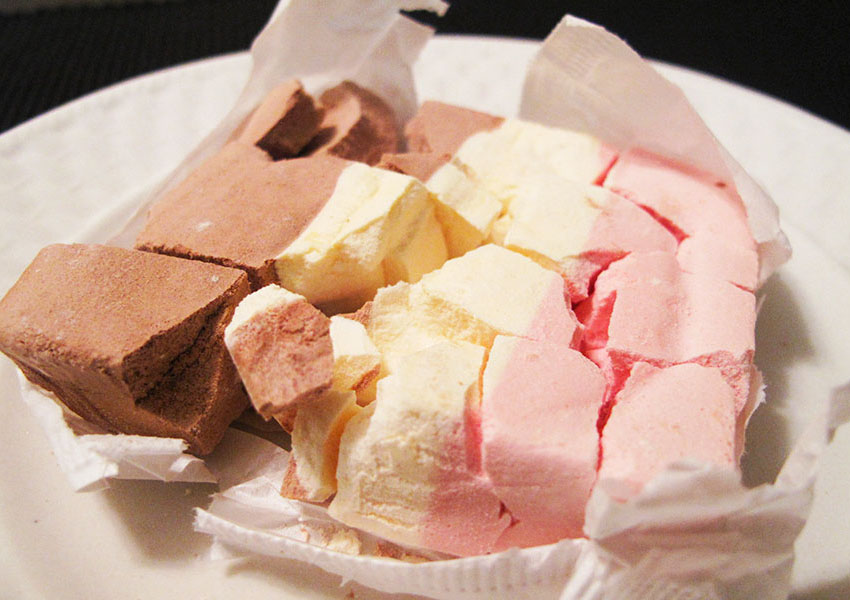
Freeze-dried ice cream is ice cream that has had most of the water removed from it by a freeze-drying process, sealed in a pouch, and requires no refrigeration.
This freeze-dried ice cream was commissioned by NASA for the Apollo missions in the 1960s but since its first trip into space it has not made it onto any future missions, as it was found to crumble into really small fragments that could be dangerous for astronauts and their equipment under zero gravity conditions. It is made by freeze-drying a mixture of coconut cream, milk and sugar. This freeze-drying process, otherwise known as lyophilisation, removes all the water from the material in a way that avoids much shrinkage or toughening of the material and retains flavour, smell and nutritional content. The liquid is frozen and then the temperature carefully increased whilst it is under pressure so that the frozen water in the material sublimates directly from a solid into a gas. The resulting light and sugary foam is then coated in edible gelatine to hold the chunk together.
Freeze drying (or lyophilization) removes water from the ice cream by lowering the air pressure to a point where ice sublimates from a solid to a gas. The ice cream is placed in a vacuum chamber and frozen until the water crystallizes. The air pressure is lowered, creating a partial vacuum, forcing air out of the chamber; next heat is applied, sublimating the ice; finally a freezing coil traps the vaporized water. This process continues for hours, resulting in a freeze-dried ice cream slice.
How-to-freeze-drying-ice-creamfreeze-drying-ice-cream
How to Make Freeze Dried Ice Cream?
1.Place the ice cream on the freeze dryer tray. You can use 1.5 quarts (1.4 l) of homemade or store-bought ice cream in the flavor of your choice. Use an ice cream scoop to place individual servings of the ice cream on the tray from your freeze dryer or soften the ice cream slightly so you can spread it in a thin layer across the tray.
If you spread the ice cream in a layer across the freeze dryer tray, you can then break it into individual pieces once it’s freeze dried.
If you have multiple trays for your freeze dryer, you can freeze dry more than 1.5 quarts (1.4 l) of ice cream.
2.Chill the ice cream in the freezer for a bit. While the freeze dryer will freeze the ice cream to a temperature as low as -30°F (-34°C), it helps to place the tray with the ice cream in your freezer for 1 to 2 hours. This will allow you to reduce the freeze time in the freeze dryer by 1 to 1 ½ hours.
This step is optional. You can place the ice cream directly in the freeze dryer if you prefer.
Cover the ice cream with plastic wrap before you place the tray in the freezer to keep it from picking up other flavors or scents.
3.Load the tray in the freeze dryer and set the appropriate freeze and dry times. Slide the tray into the freeze dryer so it’s securely in place. Turn the appliance on, and choose the appropriate freeze and dry times for the ice cream according to the manufacturer’s instructions. You can experiment with different times to find which settings you like best for freeze dried ice cream.
The proper freeze and dry time may depend on the freeze dryer that you’re using, so it’s important to consult the manual to get better idea of what settings are appropriate.
If you’re not sure what freeze and dry times to use, start with 12 hours of freeze time and 12 hours of dry time and see how you like the results. You can also just use the default setting the first time that you freeze dry the ice cream and see how it turns out.
4.Allow the dryer to run. It will take a while for the ice cream to freeze dry. In some cases, it may take a day or more. Don’t open the dryer to check on the ice cream while it’s running because you’ll interrupt the freeze drying process and wind up with ice cream that isn’t properly freeze dried.
5.Test the ice cream for dryness. When the freeze dryer has finished its freezing and drying cycles, remove the tray from the appliance. Find one of the thickest parts of the ice cream and break it in half or taste it. If there’s any moisture left, you will notice coldness and wetness.
6.Add more dry time if necessary. If you notice that there’s still moisture left in the ice cream, set the freezer dryer to add more drying time. Another couple of hours should be sufficient to finish drying the ice cream, depending on how long you originally set it to dry.
7.Remove the ice cream from the tray and enjoy. Once the ice cream is dry, you can remove it from the tray. If you spread it in a single layer on the tray, use a knife or fork to break it into individual pieces. You can eat the ice cream right away or place it in airtight containers for storage.
There’s no need to refrigerate freeze dried ice cream. It can last up to 25 years at room temperature.